
Table of Contents
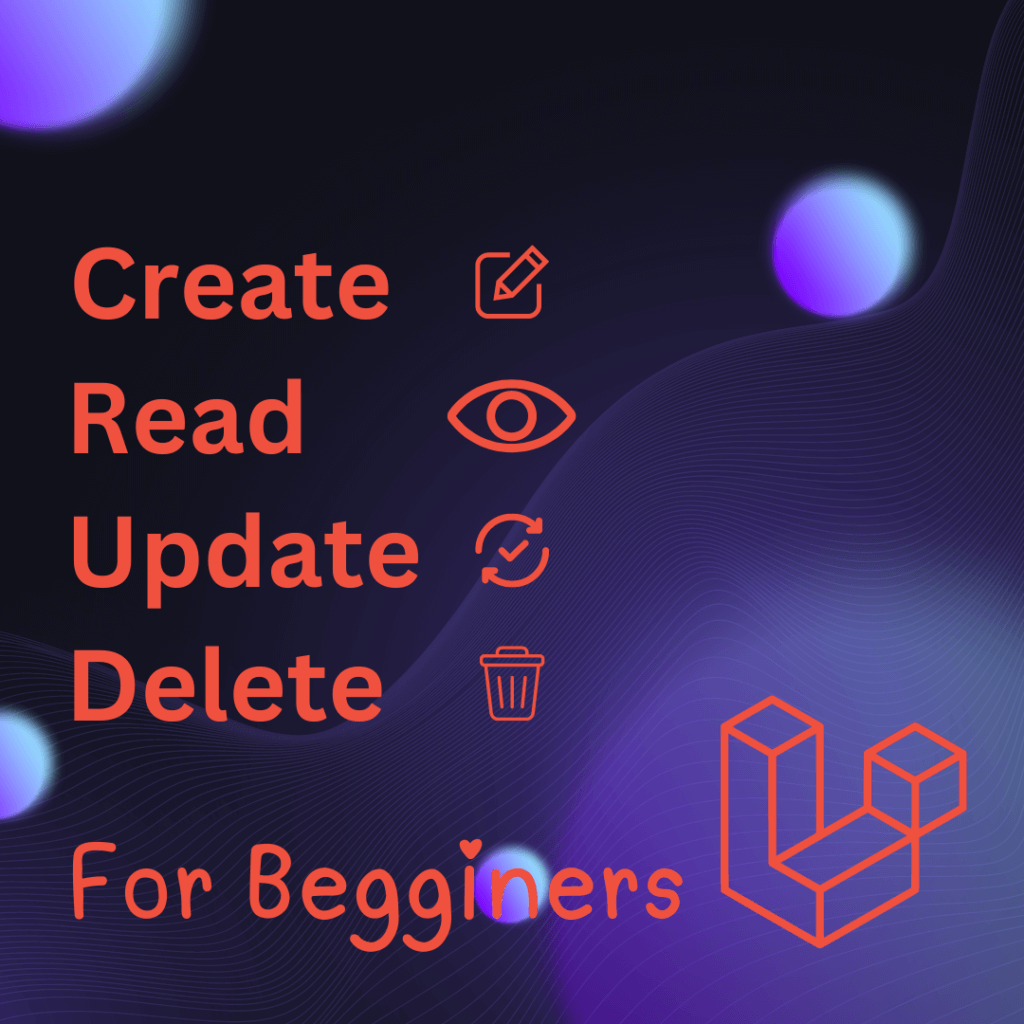
In the industry of web development. One of the fundamental operations in web development is CRUD (Create, Read, Update, Delete) functionality. In this tutorial, We will guide you through the process of building a basic Laravel CRUD application from scratch.
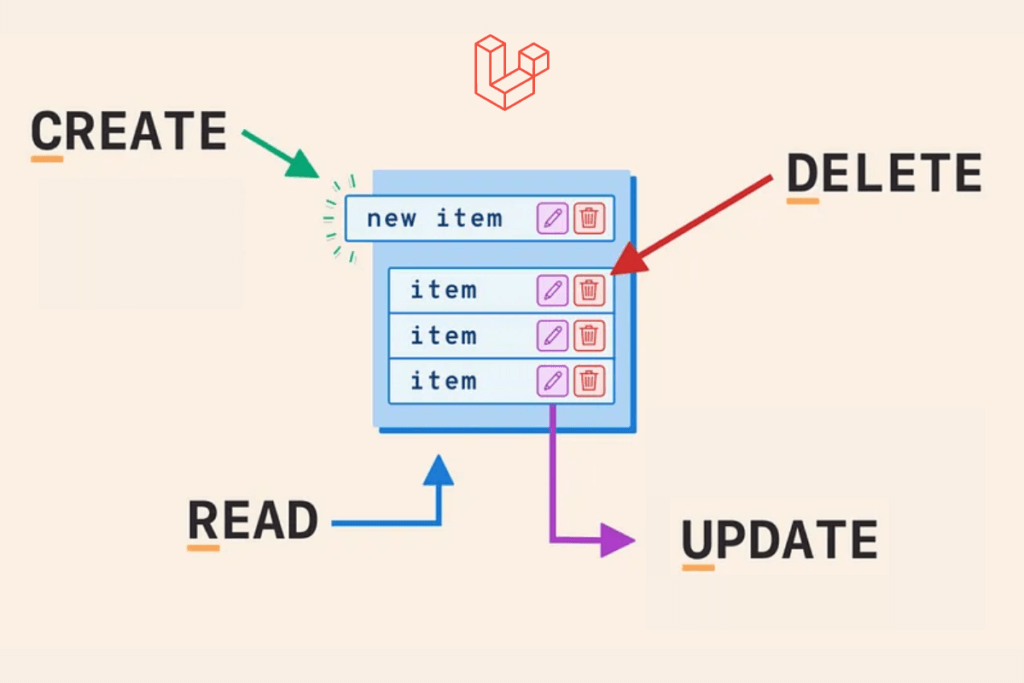
What is Laravel CRUD ?
CRUD is stand for do Create, Read, Update and Delete. This is most required operations for and web application. These operations are important to manipulate data within application or system
- Create : This operation is used to create object by using Api, form, seeder, etc, For example creating product in ecommerce store
- Read : This operation used to Read data from database send to Api or show in frontend. for example we see dashboard, product page etc.
- Update : This operation used to update any record that we created with create using api or update form. for example we update product page in ecommerce or update our profile
- Delete : This operation used to destroy any record from database by using api or form .for example we delete post or comment in blog
Why Use CRUD in Laravel?
Laravel is most popular php framework. Laravel is known for its powerful features and quick development process. while talking about CRUD , then Laravel saying ” No worries we can do it”
- Simple Architecture : Laravel provide simple & easy architecture by using their in-built features like Eloquent, Resource Controller, Resource Route, Authentication etc.,
- Quick Development : Laravel provide in built functionality like Route naming, Migration Schema , blade template engine , component etc.
- Security : Most important and Complex part for any application is Security no one willing to compromise with and Laravel solve this issue.
- Scalability : Laravel provide you ORM that are very optimized for whatever your data size. Laravel gives you caching mechanism, database indexing that very help you while growing your data.
Laravel ensures efficient and secure application development that’s making it a top choice for backend in modern web projects.
Requirements For Laravel CRUD
Before we see Laravel CRUD implementation, I assuming you have the following installed on your system:
- Composer (Dependency Manager for PHP)
- PHP
- MySQL (or any other database of your choice)
- Basic understanding of PHP and MVC architecture
Laravel Setup
Install Laravel Project
First, let’s create Laravel project using Composer. Open your terminal or command prompt and run the following command
composer create-project --prefer-dist laravel/laravel crudappThis command will create a new Laravel project named crudapp . Now Navigate into your project directory:
cd crudapp.env configuration
Next, configure your database settings. Open the .env file in the root of your project directory and modify the following lines with your database credentials:
DB_CONNECTION=mysql
DB_HOST=127.0.0.1
DB_PORT=3306
DB_DATABASE="crudapp"
DB_USERNAME="root"
DB_PASSWORD=""
Save the .env file after making these changes. we complete here setup of our project
Database Setup
Creating a Model and Migration
In Laravel, models are used to interact with your database. Let’s create a model and its corresponding migration for our Laravel CRUD application. Run the following Artisan command:
php artisan make:model Task -mThis command will generate a Task model (app/Models/Task.php) and its migration file.
Defining Table Schema
Open the migration file created in database/migrations. By default, it should look something like this
<?php

use Illuminate\Database\Migrations\Migration;
use Illuminate\Database\Schema\Blueprint;
use Illuminate\Support\Facades\Schema;

return new class extends Migration
{
    /**
     * Run the migrations.
     */
    public function up(): void
    {
        Schema::create('tasks', function (Blueprint $table) {
        $table->id();
        $table->string('title');
        $table->text('description');
        $table->timestamps();
    });
    }

    /**
     * Reverse the migrations.
     */
    public function down(): void
    {
        Schema::dropIfExists('tasks');
    }
};
Modify the up() method to define the structure of your tasks table. Then, run the migration to create the table in your database:
php artisan migrateDefining Routes
Now, let’s define the routes for our CRUD operations. Open routes/web.php and add the following routes:
use App\Http\Controllers\TaskController;
use Illuminate\Support\Facades\Route;

/**
 * Routes for Tasks
 */
Route::resource('tasks', TaskController::class);
OR
use App\Http\Controllers\TaskController;
use Illuminate\Support\Facades\Route;

/**
 * Routes for Tasks
 */
Route::get('/tasks', [TaskController::class, 'index']);
Route::get('/tasks/create', [TaskController::class, 'create']);
Route::post('/tasks', [TaskController::class, 'store']);
Route::get('/tasks/{task}', [TaskController::class, 'show']);
Route::get('/tasks/{task}/edit', [TaskController::class, 'edit']);
Route::put('/tasks/{task}', [TaskController::class, 'update']);
Route::delete('/tasks/{task}', [TaskController::class, 'destroy']);
CRUD Controller
Generate a resource controller named TaskController using the following command
php artisan make:controller TaskController -rHere we taken Resource controller that give us pre-written functions in pur controller without -r it give us blank class of controller
namespace App\Http\Controllers;

use App\Models\Task;
use Illuminate\Http\Request;

class TaskController extends Controller
{
    public function index()
    {
        $tasks = Task::all();
        return view('tasks.index', compact('tasks'));
    }

    public function create()
    {
        return view('tasks.create');
    }

    public function store(Request $request)
    {
        $request->validate([
            'title' => 'required|max:255',
            'description' => 'required',
        ]);

        Task::create($request->all());

        return redirect()->route('tasks.index')
                         ->with('success', 'Task created successfully.');
    }

    public function show(Task $task)
    {
        return view('tasks.show', compact('task'));
    }

    public function edit(Task $task)
    {
        return view('tasks.edit', compact('task'));
    }

    public function update(Request $request, Task $task)
    {
        $request->validate([
            'title' => 'required|max:255',
            'description' => 'required',
        ]);

        $task->update($request->all());

        return redirect()->route('tasks.index')
                         ->with('success', 'Task updated successfully.');
    }

    public function destroy(Task $task)
    {
        $task->delete();
        return redirect()->route('tasks.index')
                         ->with('success', 'Task deleted successfully.');
    }
}
Here we written backend logic. you can apply logic same for API.
Blade Templates
Next, we will create the Blade templates for the views. These files should be placed in resources/views/tasks.
Layout File
Ensure you have a basic layout file resources/views/layouts/app.blade.php:
<!DOCTYPE html>
<html lang="en">
   <head>
      <meta charset="UTF-8">
      <meta name="viewport" content="width=device-width, initial-scale=1.0">
      <title>Laravel CRUD</title>
      <link href="https://cdn.jsdelivr.net/npm/bootstrap@5.1.3/dist/css/bootstrap.min.css" rel="stylesheet">
   </head>
   <body>
      <div class="container mt-4">
         @yield('content')
      </div>
   </body>
</html>
Index.blade.php
This file will display all tasks from database and provide links to create, edit, and delete actions for manipulate tasks.
@extends('layouts.app')
@section('content')
<div class="container">
   <h1>Tasks</h1>
   <a href="{{ route('tasks.create') }}" class="btn btn-primary mb-3">Create New Task</a>
   @if(session('success'))
   <div class="alert alert-success">
      {{ session('success') }}
   </div>
   @endif
   <table class="table">
      <thead>
         <tr>
            <th>ID</th>
            <th>Title</th>
            <th>Description</th>
            <th>Actions</th>
         </tr>
      </thead>
      <tbody>
         @foreach($tasks as $task)
         <tr>
            <td>{{ $task->id }}</td>
            <td>{{ $task->title }}</td>
            <td>{{ $task->description }}</td>
            <td>
               <a href="{{ route('tasks.show', $task) }}" class="btn btn-info btn-sm">View</a>
               <a href="{{ route('tasks.edit', $task) }}" class="btn btn-warning btn-sm">Edit</a>
               <form action="{{ route('tasks.destroy', $task) }}" method="POST" style="display:inline;">
                  @csrf
                  @method('DELETE')
                  <button type="submit" class="btn btn-danger btn-sm">Delete</button>
               </form>
            </td>
         </tr>
         @endforeach
      </tbody>
   </table>
</div>
@endsection
create.blade.php
This file will contain the form to create a new task.
@extends('layouts.app')

@section('content')
    <div class="container">
        <h1>Create Task</h1>
        <form action="{{ route('tasks.store') }}" method="POST">
            @csrf
            <div class="mb-3">
                <label for="title" class="form-label">Title</label>
                <input type="text" class="form-control" id="title" name="title" required>
            </div>
            <div class="mb-3">
                <label for="description" class="form-label">Description</label>
                <textarea class="form-control" id="description" name="description" rows="3" required></textarea>
            </div>
            <button type="submit" class="btn btn-primary">Save</button>
            <a href="{{ route('tasks.index') }}" class="btn btn-secondary">Cancel</a>
        </form>
    </div>
@endsection
edit.blade.php
This file will contain the form to edit an existing task.
@extends('layouts.app')
@section('content')
<div class="container">
   <h1>Edit Task</h1>
   <form action="{{ route('tasks.update', $task) }}" method="POST">
      @csrf
      @method('PUT')
      <div class="mb-3">
         <label for="title" class="form-label">Title</label>
         <input type="text" class="form-control" id="title" name="title" value="{{ $task->title }}" required>
      </div>
      <div class="mb-3">
         <label for="description" class="form-label">Description</label>
         <textarea class="form-control" id="description" name="description" rows="3" required>{{ $task->description }}</textarea>
      </div>
      <button type="submit" class="btn btn-primary">Update</button>
      <a href="{{ route('tasks.index') }}" class="btn btn-secondary">Cancel</a>
   </form>
</div>
@endsection
show.blade.php
This file will display the details of a single task.
@extends('layouts.app')@section('content')
<div class="container">
   <h1>Task Details</h1>
   <div class="mb-3">            <strong>Title:</strong> {{ $task->title }}        </div>
   <div class="mb-3">            <strong>Description:</strong> {{ $task->description }}        </div>
   <a href="{{ route('tasks.edit', $task) }}" class="btn btn-warning">Edit</a>
   <form action="{{ route('tasks.destroy', $task) }}" method="POST" style="display:inline;">
@csrf
@method('DELETE')
     <button type="submit" class="btn btn-danger">Delete</button>
</form>
   <a href="{{ route('tasks.index') }}" class="btn btn-secondary">Back to Tasks</a>
</div>
@endsection
This setup provides a complete Laravel CRUD application. You can navigate to /tasks to start managing tasks through the user interface. Happy coding!
Real also : Laravel Role & Permission Step By Step
In this tutorial, we’ve walked through the process of building a basic Laravel CRUD (Create, Read, Update, Delete) application , a popular PHP framework known for its elegance and efficiency in web development.